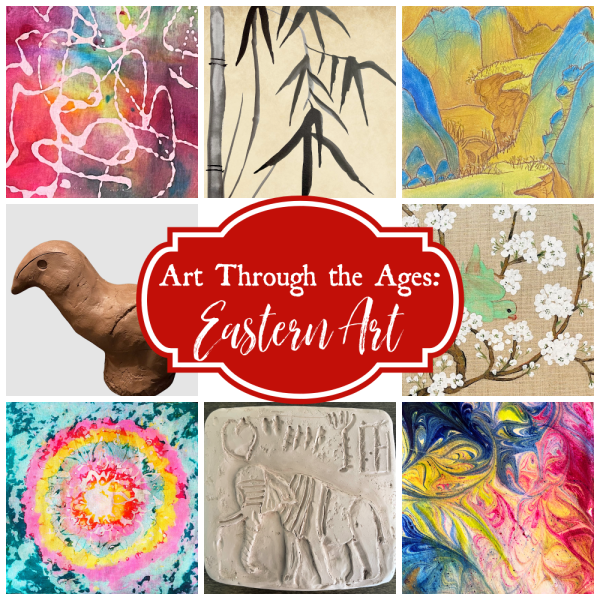
Looking for a quick and easy art project for your kids to enjoy? Watercolor and plastic process art is the way to go!

We’ve mentioned before that we love process art because it allows the experience to shine just as much as the completed project. The same is true for today’s watercolor and plastic process art project.
The best part is that it’s a fun and super easy way to add some creative expression to your day. Ready to get started?
Watercolor and Plastic Process Art
*Some links are referral links for recommended items; this means I could receive compensation if you take action through one of these links.*
Supply List for Watercolor and Plastic Process Art
Here are the supplies you need on hand for our watercolor and plastic project.
- Watercolor paper (Mixed media paper will also work.)
- Watercolor paint
- Paint brush
- Plastic wrap
- Scissors
- Oil pastels (optional)
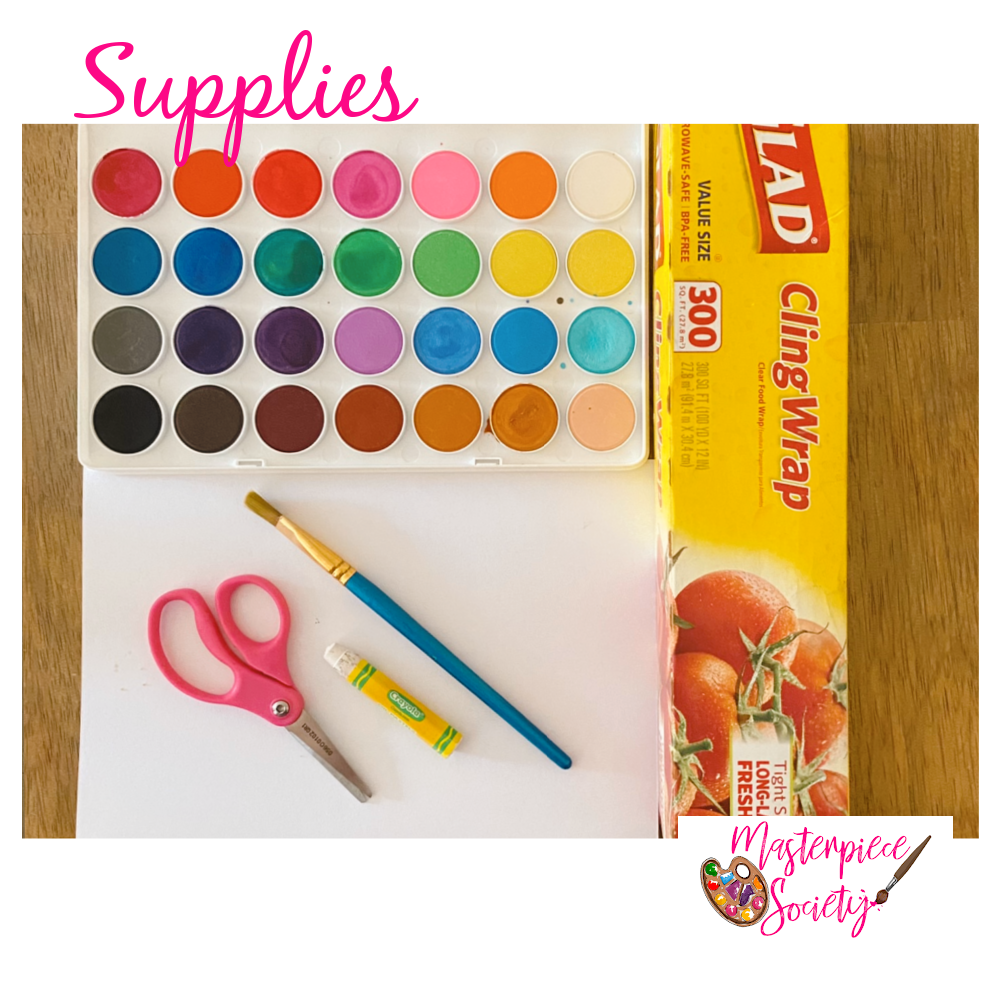
Before jumping into the project, take a moment to consider the color scheme you’d like to use and if you would like to incorporate the oil pastels. The pastels aren’t necessary, but the oil pastel watercolor resist component adds another fun dimension to our watercolor and plastic process art.
Step 1 - Prepare the paper.

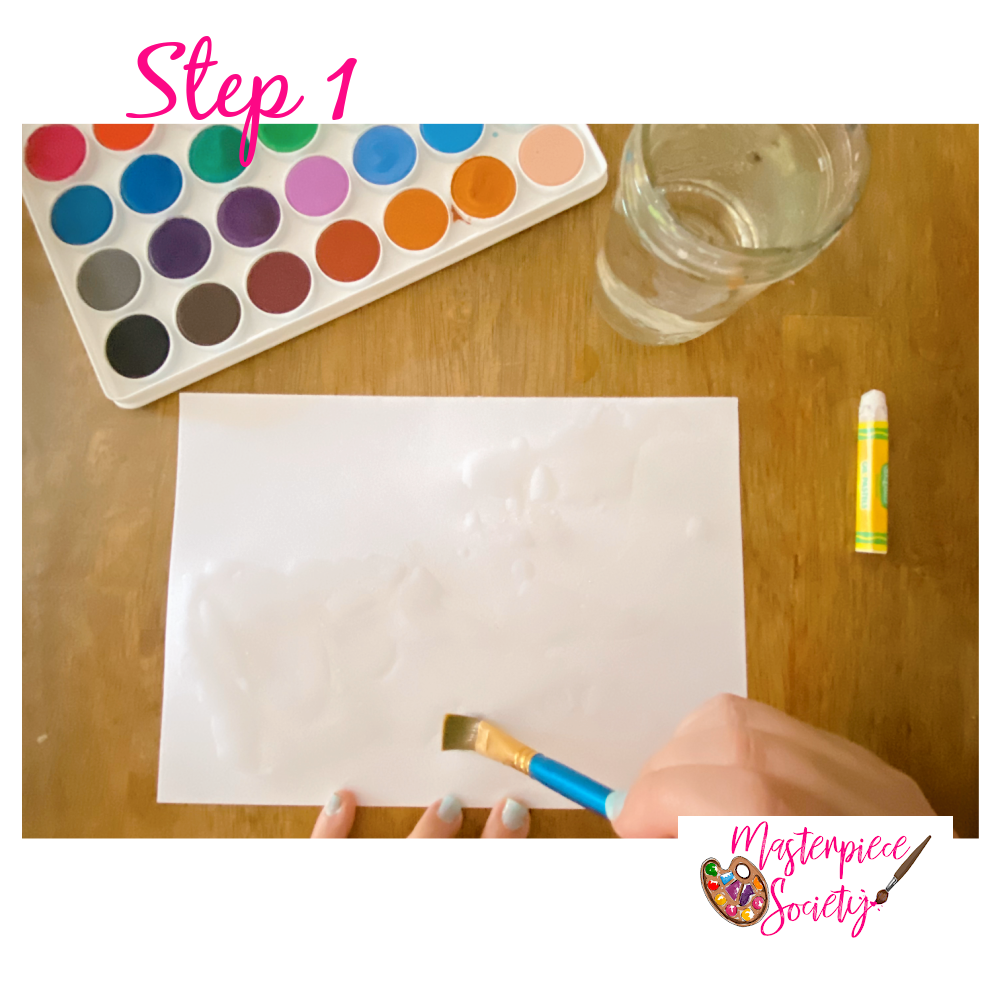
Begin by adding your oil pastel design to a dry piece of paper. It’s also important to use firm strokes and fill in any splotches in your oil pastel markings before moving on.
Next, wet the paintbrush and “paint” water onto your paper. You want the paper to be thoroughly saturated before moving on to the next step. (If you’re not adding the pastels to your project, you’ll actually start here by adding the water.)
Step 2 - Paint.

After the paper is covered in water, dip your paint brush into one of the watercolors and apply it as desired on the paper. This wet-on-wet painting process will cause the colors to run together in unique ways.
Continue painting, adding one color at a time.
Step 3 - Wrap with plastic.


When you finish painting, cut a sheet of plastic wrap slightly larger than your paper. Then place the plastic wrap in a flat layer on top of your painting, being sure the entire front of the paper is covered with the plastic wrap.
Next, create wrinkles in the plastic wrap by pinching or tugging it from various angles. This step is simple but adds a textured look to the complete project.
Lastly, place your “wrapped” painting in a safe spot to dry. Leave it overnight and remove the plastic wrap in the morning. After that, you’re ready to display your watercolor and plastic process art.
Don’t forget to share your watercolor and plastic painting with us! Be sure to use #masterpiecesociety or tag us on social media so we can see your fun creations. We also love seeing your art in the Masterpiece Society Facebook Group.
Want a FREE art lesson to inspire creativity in your child or teen?
Try Our Free Bluebird Art Lesson...
One of my favorite ways to introduce families to Masterpiece Society is our free Bluebird Art Lesson.
In this lesson, your child will create a beautiful bluebird painting while exploring color, brushwork, texture, and artistic expression.
It's designed to be approachable for young artists—and enjoyable enough that parents often want to paint along, too!


Looking for more projects like this? Check out this soak stain painting project inspired by Helen Frankenthaler and our spring and fall Watercolor Whimsies courses. Between these, you’ll have plenty of creative inspiration for your artists.