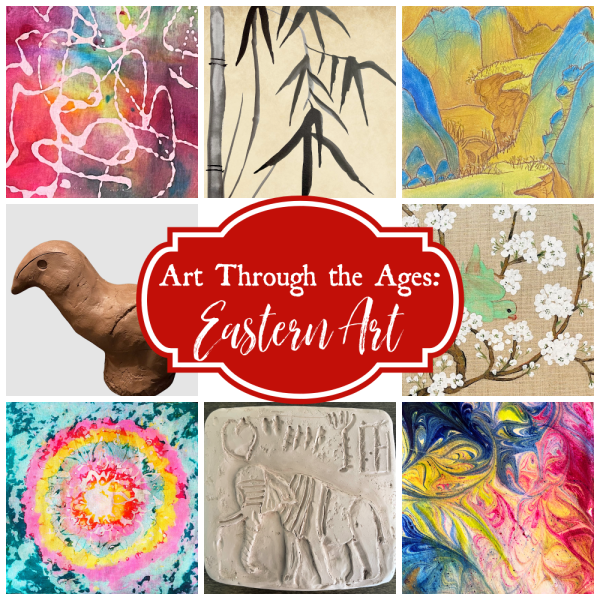
Summer is here and we think this bright and sunny mixed media project is the perfect way to celebrate the season with your kids!

Whether you’re looking for indoor activities to beat the heat or your kids just love those sunny summer months, this mixed media project is a fun one to add to your summer art plans.
Summer Sun Mixed Media Art for Kids
Here are the supplies you’ll need to complete this summer sun art project with your kids. Don’t worry if it looks like a lot; you probably have most, if not all, of these items on hand.
Summer Sun Project Supply List
*Some links are referral links for recommended items; this means I could receive compensation if you take action through one of these links.*
- 8 x 10 canvas panel
- Acrylic craft paints
- Paint brushes or sponge brushes (one specifically for Mod Podge)
- Pencil
- Scrapbook paper (This pack contains a good variety of colors and patterns, but whatever you have on hand will work.)
- Scissors
- Mod Podge
- Round items for tracing
- Black art pen or Sharpie (optional)
- White gel or paint pen (optional)
- Sun quotes printout (optional)
 Once you gather the supplies needed for the project, consider the paint colors and scrapbook patterns you want to use for the project. You’ll want to keep the color and pattern combinations in mind as you work.
Step 1 – Paint Background
Begin by using the acrylic craft paints to cover the canvas.
Feel free to use fun brush strokes and color combinations here. One of the cool things about mixed media art is that there’s plenty of room for creativity; take advantage of that and make this project your own. 🙂
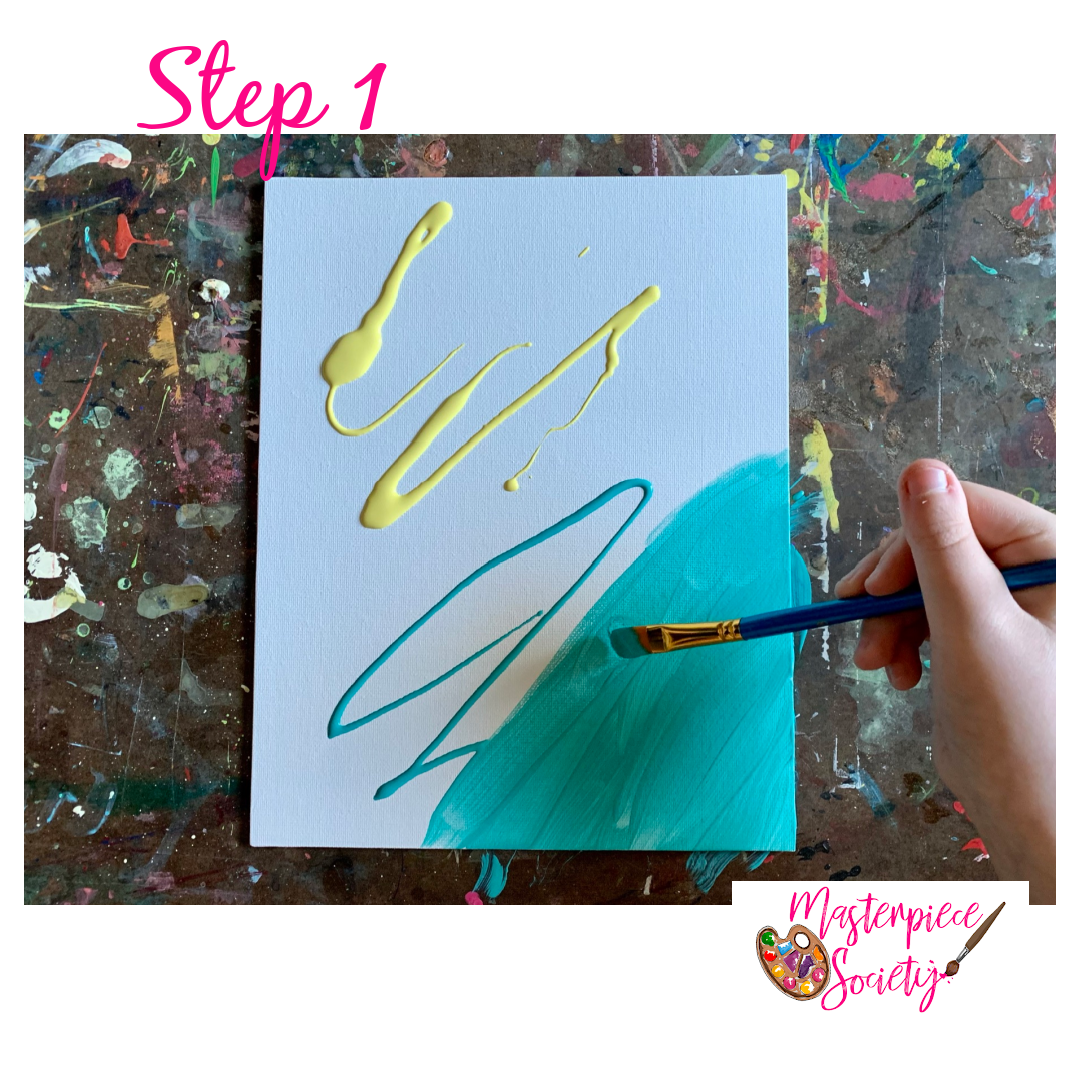 You can also check the canvas after a few minutes to see if any touch-ups are needed.
Step 2 – Prepare Cutouts
There’s a good bit of tracing and cutting for this summer sun mixed media project, but it’s all easy! Gather three sheets of scrapbook paper: one for the larger sun layer, one for the medium sun layer, and one for the smallest layer. You’ll also use these sheets to create the sun rays.
As the canvas dries, decide how you want to position your sun. A full circle, half circle positioned on a side of the canvas, or a quarter of a circle positioned in a corner will all work nicely.
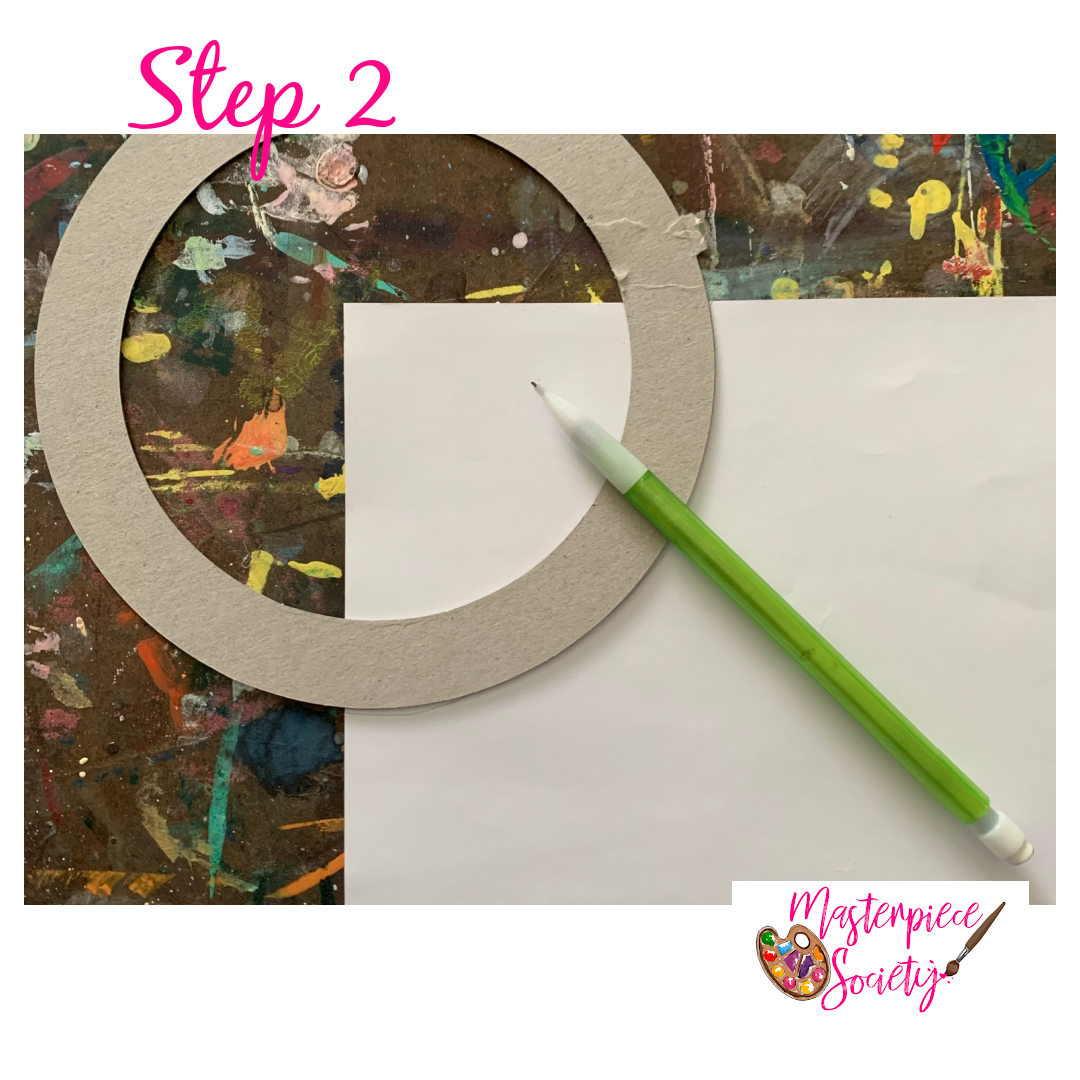 Once you choose a position, use a round object and pencil to trace your largest sun layer onto the back of your scrapbook paper. (We used stencils for this part, but a bowl or cup also works.) Repeat the process on the other two sheets to create the medium and small layers of paper for the sun.
 Lastly, cut four or five small rectangles to use as sun rays from each scrapbook paper sheet. Also, cut out a quote from our Summer Sun Mixed Media Phrases if you want to use one.
Step 3 – Add Cutouts
When the tracing and cutting are both out of the way, experiment with the cutout placement to be sure you have an idea of where you want everything to go. When you’re happy with the placement, lightly “paint” the back of the largest sun layer with Mod Podge and gently press it onto the canvas.
Then repeat the process with the medium layer, but add it on top of the larger sun instead of the canvas. Using the same process, add the smallest sun layer on top of the medium layer.
 While the sun dries, use the Mod Podge to glue the sun ray strips and the quotes to the canvas as desired.
Step 4 – Add Accents
The last step of our summer sun mixed media art is to finish out the scene. Do this by choosing one or two of the following accent ideas. These are all optional, but they’re easy ways to pull it all together.
- Use a Sharpie or black art pen to outline the cutouts after the Mod Podge dries. Outline the quote the same way and add any additional accents you wish. You can use a white paint or gel pen instead of the Sharpie or in addition to the Sharpie for additional accents.

- Fill in empty areas by scrunching a paper towel together and dipping it into a small amount of paint. Then use it to dab a little paint splotches in the blank areas of the canvas. (If you add too much, remove some of the accent paint by dabbing over it with a clean paper towel before it dries. You can also add dabs of the original paint color to cover accidents if needed.)
- Stamp dots of paint onto the canvas by using a cotton swab or pencil eraser and an accent color from your paint selections.
After all the accents and outlines are dry, seal your work by painting a layer of Mod Podge over the entire canvas. When that layer dries, your summer sun mixed media art is ready to display or share!
 Don’t forget to share your sunny artwork with us! Be sure to use #masterpiecesociety or tag us on social media so we can see your fun creations.
Looking for more summer art fun to enjoy with your kids? Be sure to check out our Celebrate Summer Mixed Media Workshop and our Backyard Nature Mixed Media Workshop for younger kids. Between these two, you’ll have plenty of inspiration to keep your artists going all summer long.


