Studying the life and art of abstract expressionist Jackson Pollock with your kids? We’ve got a fun and easy drip painting project for you to enjoy!
 *This post contains referral links for recommended items; this means I could receive compensation if you take action through one of these links.*
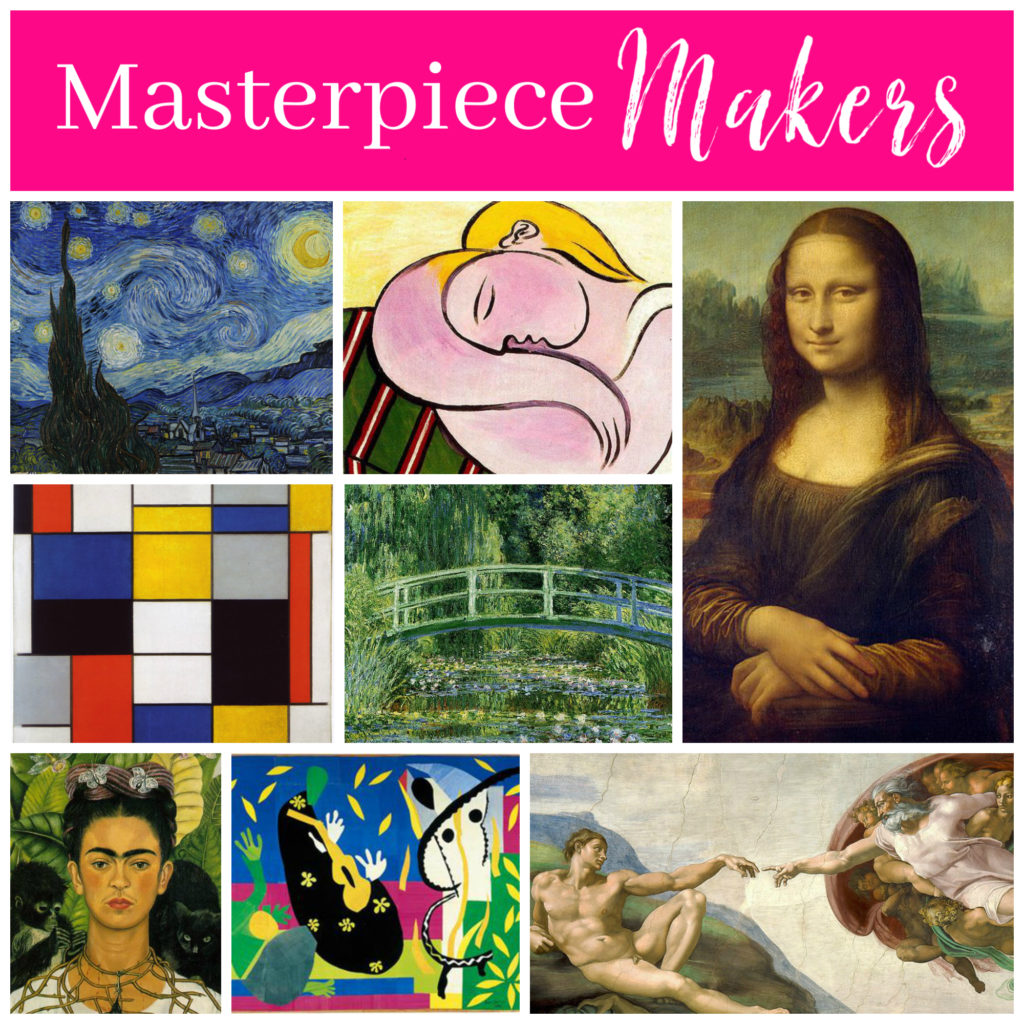
There’s great value in exploring a variety of art movements with your kids, but one especially nice thing about abstract art — and expressionism in particular — is how it can be a great confidence booster. Projects like today’s drip painting are a wonderful way to foster creativity and convey feelings through art without the risk of getting it “wrong” that comes with other art styles. After all, there’s no wrong way to do a drip painting because no two will come out exactly alike. 😉
Jackson Pollock Drip Painting for Kids
Ready to get started with our easy drip painting? Here are the supplies you’ll need:
Drip Painting Supply List
- Canvas panel (We used an 8×10.)
- Assorted craft paints
- Assorted paint brushes, craft sticks, and old toothbrushes (Whatever you have available is fine. No special purchases are needed.)
- Tacky glue for hanging (optional)
- Ribbon or twine for hanging (optional)
- Deep box (optional)
- Palette or paper plate

Before jumping into your drip painting project, consider reading a couple of books about Jackson Pollock with your kids. We especially enjoyed the picture book Action Jackon and Getting to Know the World’s Greatest Artists: Jackson Pollock.
Step 1 – Prepare painting area and paints.
Jackson Pollock’s drip paintings were created on large canvases placed on the floor of an old barn. He worked while standing over those canvases to drip and splatter house paints.
If you’re like us and don’t have an empty barn accessible for your action painting efforts, consider heading outside with your kiddos for this project. You can also repurpose an old Amazon box like we did by dripping paint onto the canvas while it sits in the bottom of the box.
 Once your painting space is prepared, take time to select the paint colors for the project and add them to a palette or a paper plate.
Step 2 – Drip and splatter.
Working one color at a time, have your kiddo gently dip paint brushes and craft sticks into the colors and drip paint onto the canvas however he wishes.
Remember, there’s no wrong or right way to do this, but the idea is to never let the brushes or tools themselves touch the canvas. Let gravity do most of the work!
 In addition to the dripping, you can use a toothbrush dipped in paint to splatter droplets of paint onto the canvas or even squirt and drizzle paint straight from the container. An added bonus, this is a fantastic way to use up nearly empty paint bottles!
Step 3 – Tilt canvas.
Once your kiddo has dripped and splattered to her heart’s content, consider tilting the canvas slightly and allowing some of the paint to move around on the canvas. This is an optional step, but it’s a nice way to redistribute larger drops or even globs of paint.

Step 4 – Prepare for display.
When you finish the painting, find a safe spot and leave it to dry. Due to the layers of thick paint, it may take as long as a day or two for the canvas to dry completely.
 Once the paint dries, prepare your drip painting for display. You can do this by simply framing it or using tacky glue to adhere a ribbon loop to the back of your canvas. When the tacky glue dries, your Jackson Pollock drip painting is ready to display and enjoy!
 Like always, we would love to see your completed Jackson Pollock project! Be sure to include #masterpiecesociety in your caption and tag us when you share it on social media.