This drip paint art project is perfect for all ages, eliminating the need for perfection as you let the colors flow!
Want to add a splash of creativity to your homeschool day? Drip painting is a fun technique that allows artists to let go of control and embrace the unpredictability of art!
Instead of using traditional brushstrokes, drip painting lets gravity guide the paint across the canvas. This not only creates a visually striking effect, but is also a way to free yourself from expectation and focus on the pure joy of creating. Drip painting is a fantastic way to explore color interaction and movement, perfect for creating abstract art!
Art supplies you will need:
Feel free to use whatever art supplies you have on hand, but if you want to know which brands of art supplies we use, we’ve linked them below:
- Canson Watercolor Pad (9×12)
- 8×10 Canvas panel
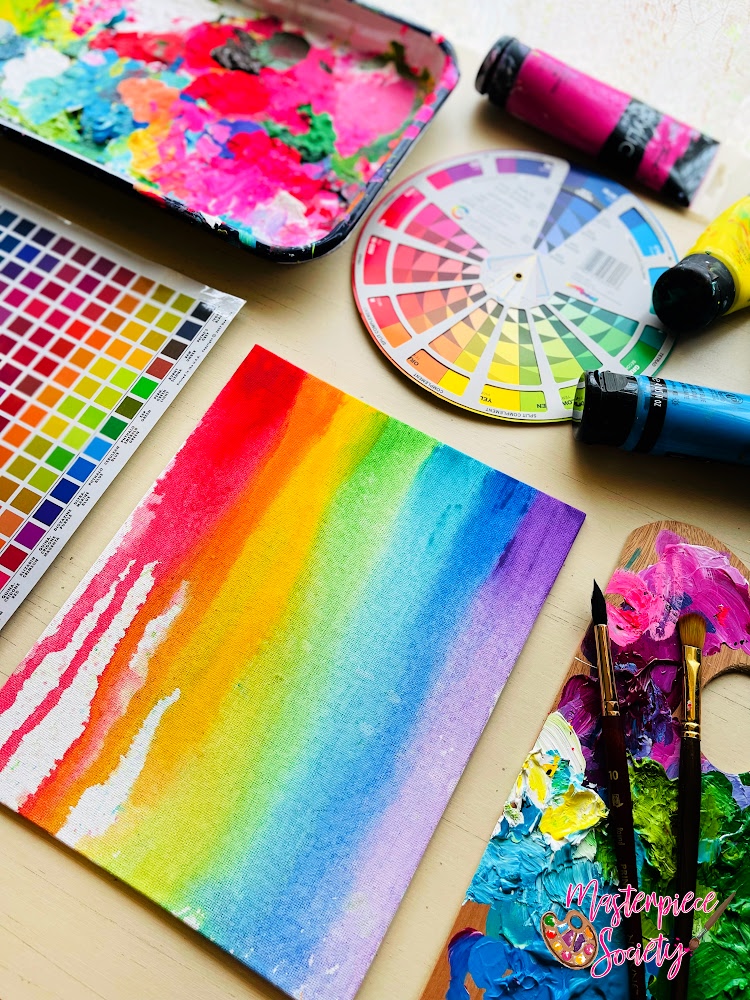
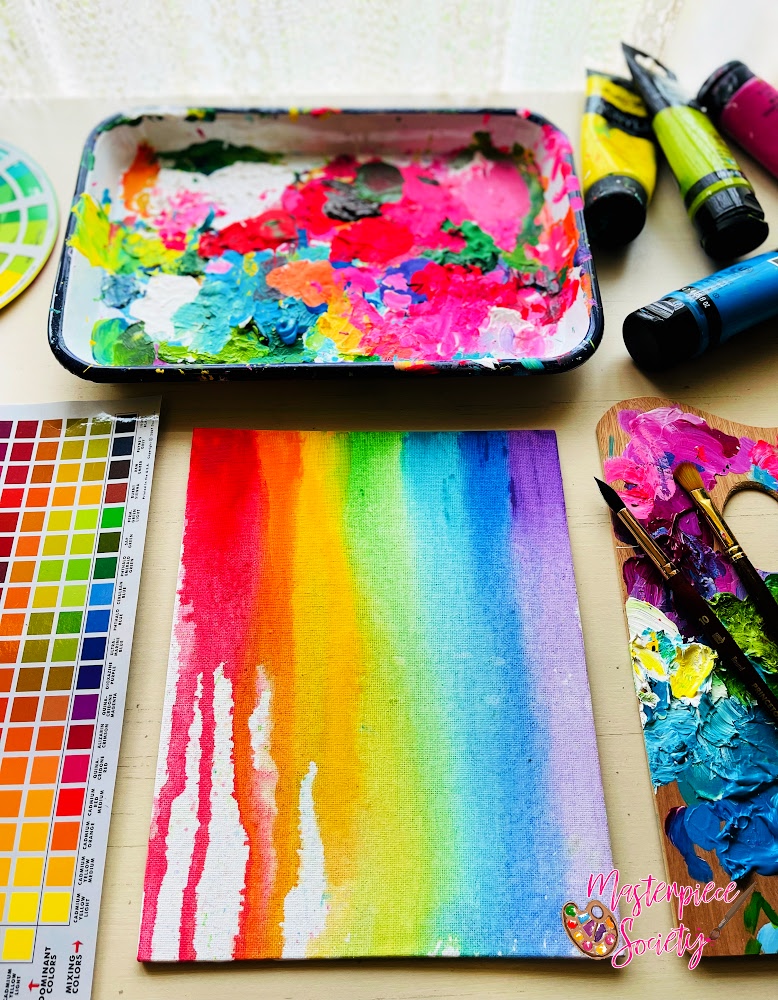
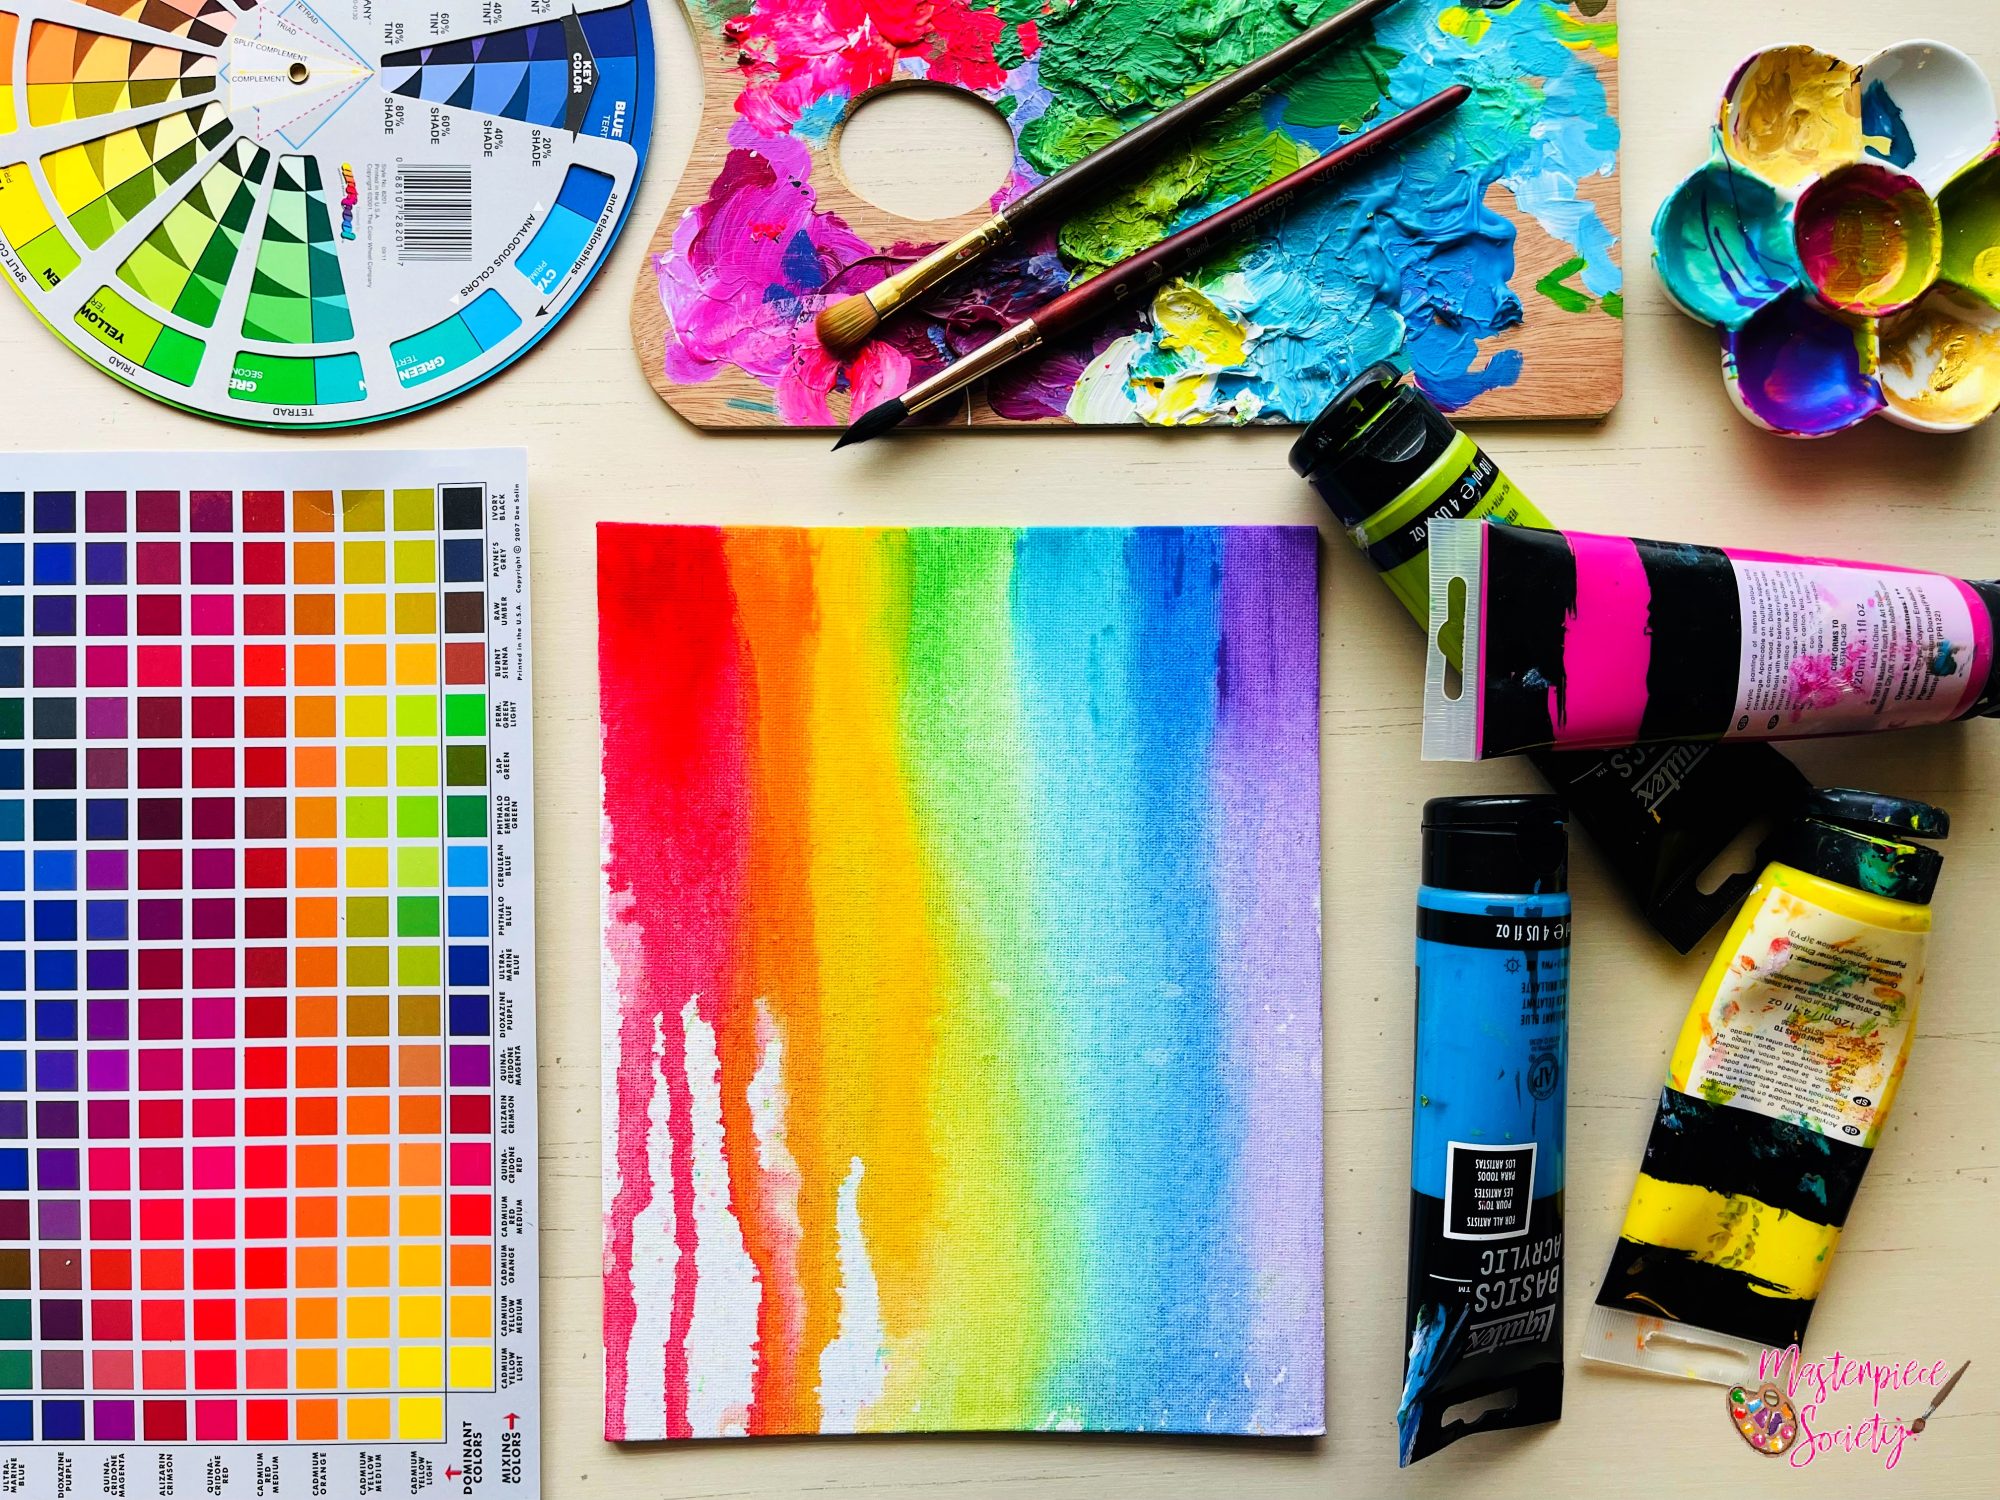
- Acrylic paint set (in the ROY G BIV colors: red, orange, yellow, green, blue or turquoise, indigo, and violet)
- Arteza paint brush set
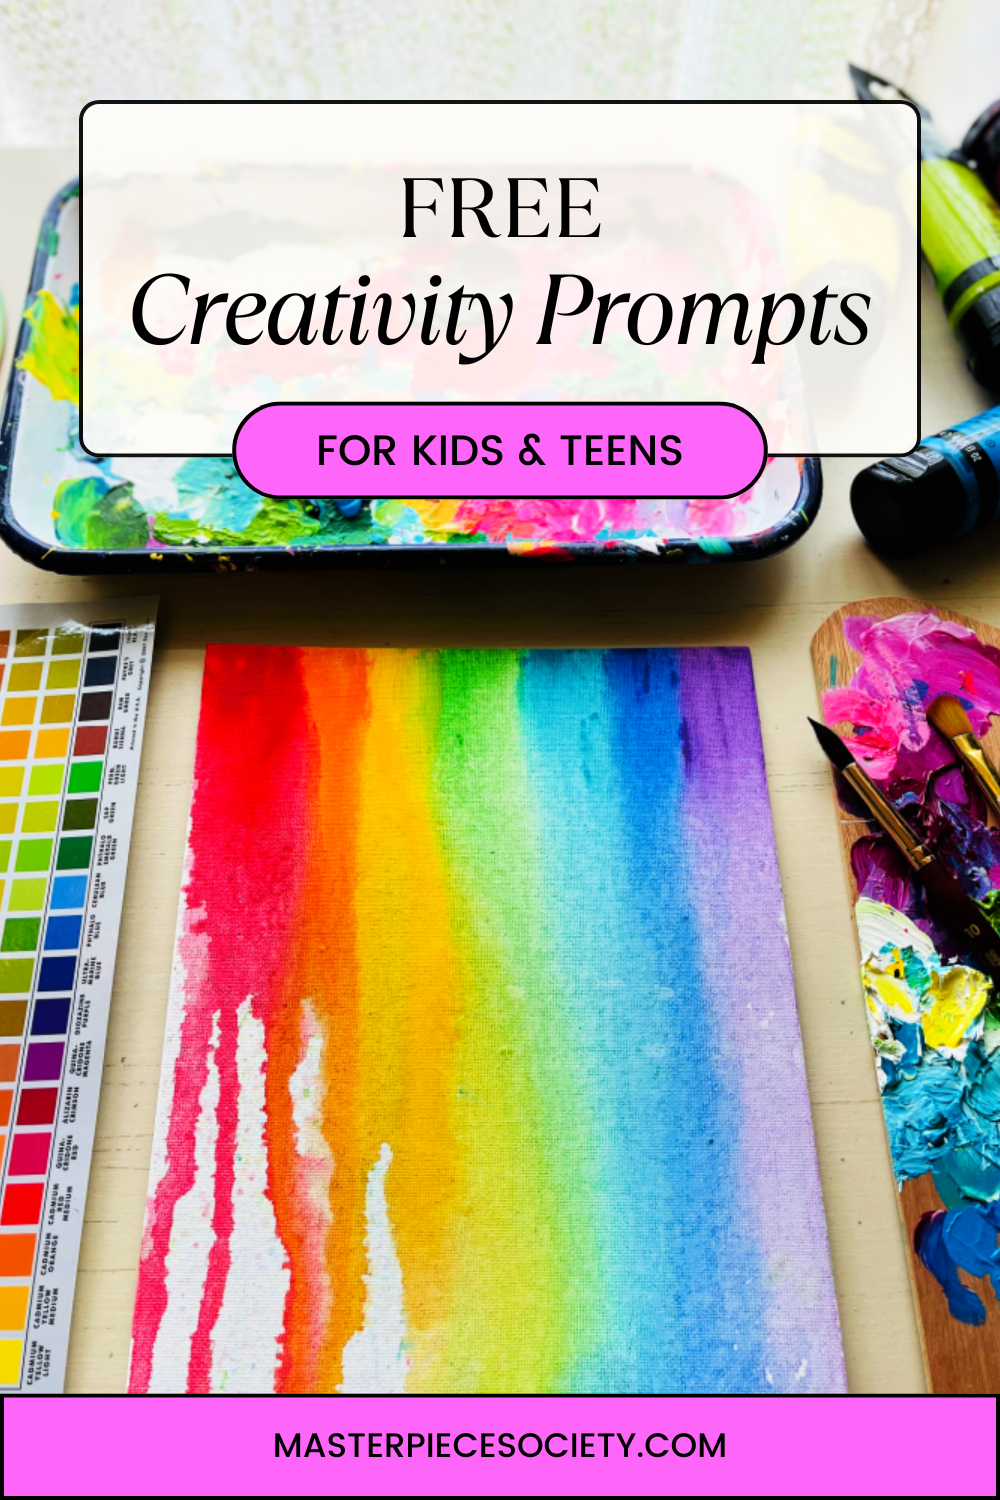
Be sure to subscribe to our email list to access our FREE creativity prompts!

Step-by-Step: Let’s Paint with Drips!
Step 1: Sketch Seven Rectangles
Lightly sketch seven equal rectangles at the top of your canvas to determine where each color needs to go.
Step 2: Wet Down Your Canvas and Colors
Spray down your canvas with water until it’s completely wet. Likewise, spray your acrylic paints with water to make them more runny and “drippy.”
Step 3: Apply Your Colors
Starting with your red, add your wet paint to the first sketched rectangle at the top of your canvas. Tilt your canvas at an angle, then spray your water directly onto the paint so that it runs down the length of the canvas. Move to your next color and repeat until you go through the whole rainbow in each rectangle. Add another layer of paint if you want to make the colors more vivid.
Step 4 (Optional): Fix Your Stripes
If the colors get too muddled at the top of your canvas, you can always go back with you paints in each section and apply a little extra acrylics. Be careful to spray only a little water this time to make sure it doesn’t run too much.
Step 5: Enjoy Your Artwork!
Enjoy your beautiful drip-paint artwork! Use it as a background for another art piece, or leave as is and hang it on the wall!
Why You Should Experiment with Drippy Paints
- Great for All Skill Levels – No special training or technical skills are needed for this kind of art project! Just a willingness to experiment and try something new.
- Encourages Free Expression – Drip painting removes the restrictions of precise brushwork and allows for a more intuitive creative process.
- Teaches Color Blending – The way colors naturally mix and flow together helps artists understand how pigments interact.
- Adds Movement and Energy to Art – The natural flow of drippy paint creates dynamic, expressive compositions.
- Encourages Playfulness – Since there’s no “wrong” way to drip paint, it fosters a fun, carefree approach to art.
Watch this video as I walk you through step by step:
Or watch it on YouTube here.
Pin me!