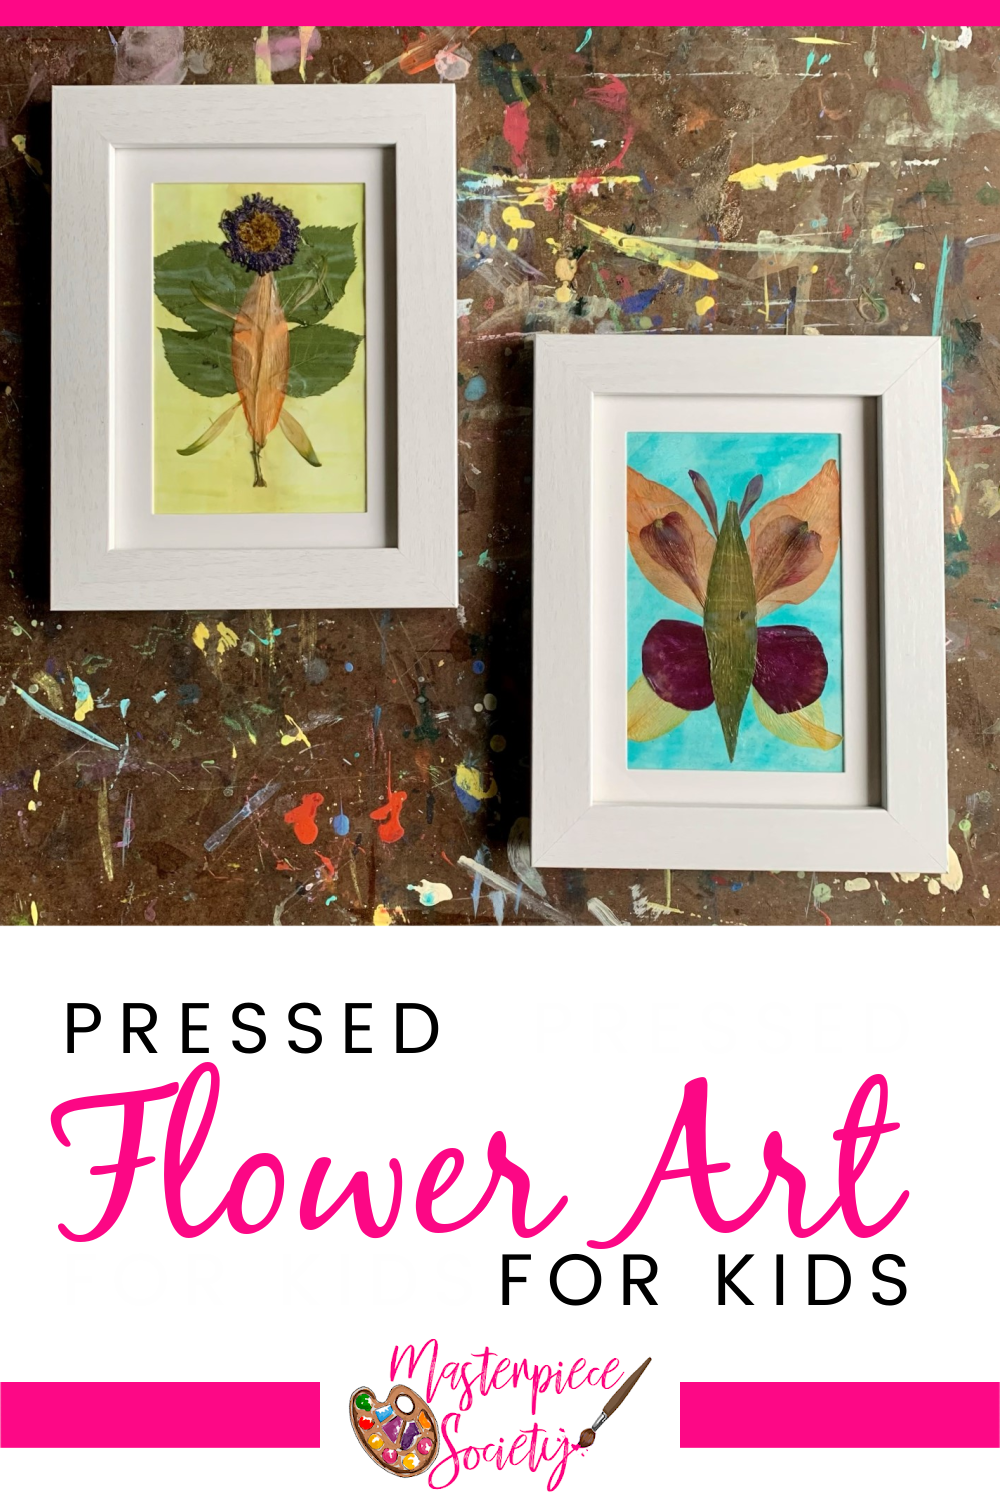
Looking for a nature-inspired art activity to enjoy with your kids? We’ve got a beautiful, but easy pressed flower art tutorial you’re going to love!

*This post contains referral links for recommended items; this means I could receive compensation if you take action through one of these links.*
One of the cool things about pressed flower art is that you can get outside and enjoy nature while you gather your supplies, but don’t worry if you don’t have an abundance of flowers in your backyard. An inexpensive bouquet from the grocery store works just as well!
Pressed Flower Art Tutorial
Since this project features pressed flowers and leaves, you’ll need to gather and prepare them in advance. You can do this with help from a flower press kit or by pressing them in large, heavy books over the course of a few weeks. You can also press them with an iron or use your microwave to dry them if you need to speed up the process.
Pressed Flower Art Supply List
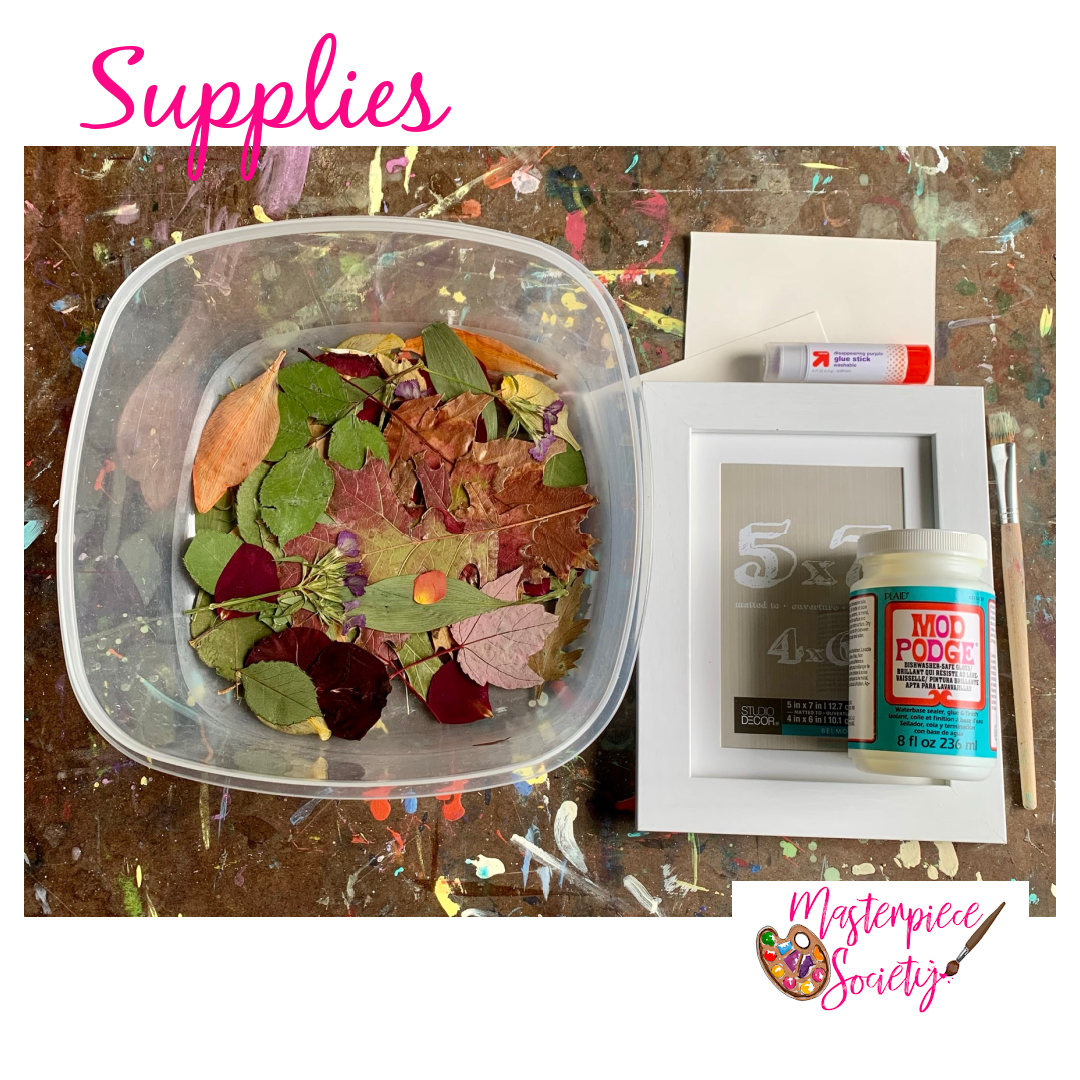
In addition to a variety of pressed flowers and leaves, here are the other supplies you’ll need:
- Photo frame (We used a 5 x 7 frame, but any size will work.)
- Watercolor paper
- Mod Podge (Any finish will work)
- Paint brush or sponge brush
- Glue stick
- Watercolor paint (optional)
 Also worth noting, Helen Ahpornsiri’s portfolio can provide wonderful inspiration for this project. We came across her artwork for the first time while reading Drawn from Nature and were stunned by her work. I encourage you to peruse her website and even have a copy of Drawn from Nature on hand before you start. She’ll inspire you in the best way!
Step 1. Prepare background.
Begin by preparing the paper. This can be as simple as trimming it down to fit in your photo frame, but this is also a good time to paint the background using watercolors if you would like to provide an extra splash of color to your project.
There’s plenty of room for creativity when it comes to color selection, but it’s best to keep it simple when it comes to the watercolors. A simple background allows the pressed flowers to shine!
Prefer to skip the paint? No worries! Unpainted paper will also produce a lovely pressed flower project.
Step 2. Plan the design.
Next, experiment with your pressed flowers and leaves by positioning them to create your image. Need a starting point for your planning? Here are some easy pressed flower compositions to consider while you’re experimenting:
- Animals
- Insects
- Objects
- Loose arrangements (like you’ll find in this leaf art project)
- Patterns
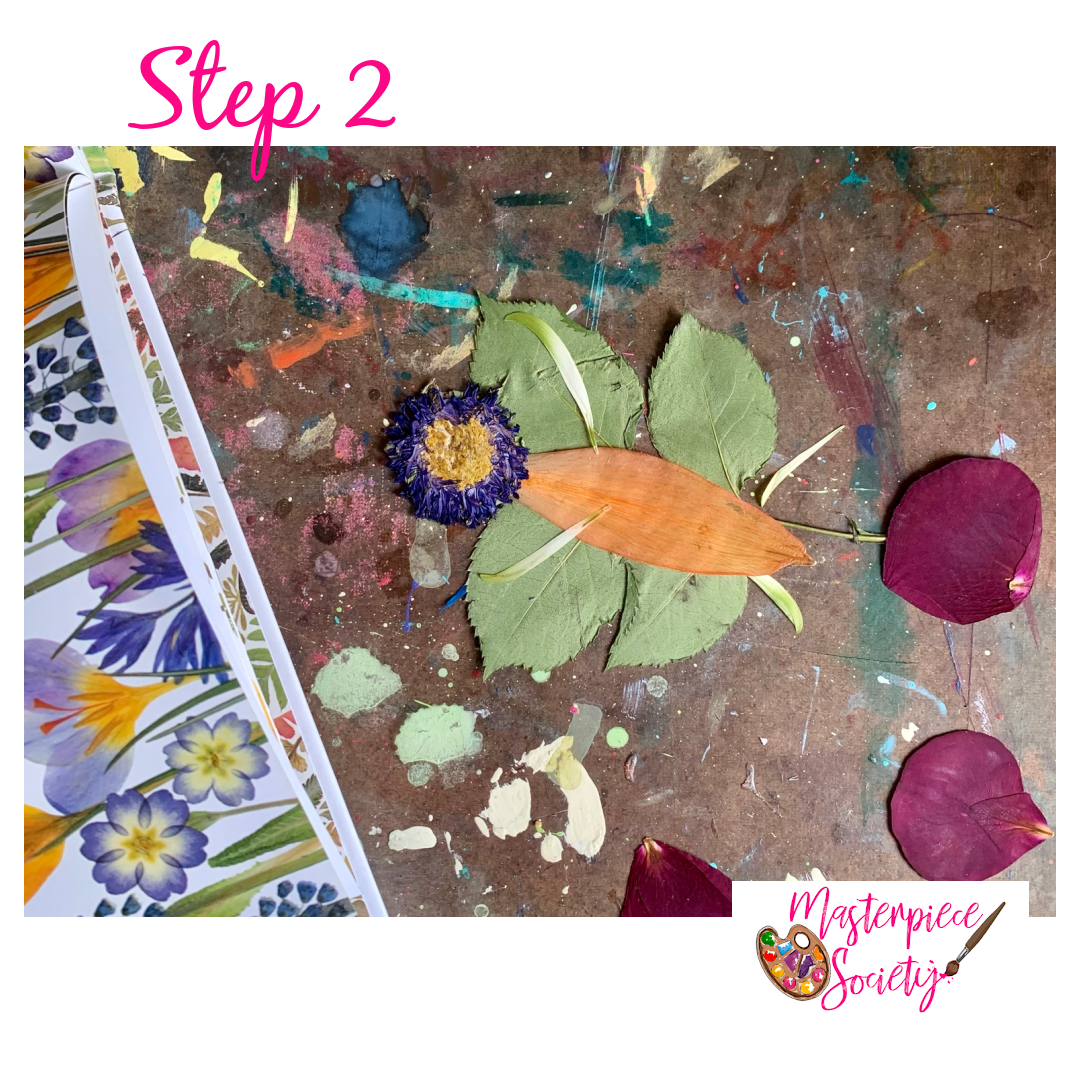 Once you have an idea of your arrangement, take a photo of it to reference as you continue on to the next step.
Step 3. Glue the pressed flowers.
Use the glue stick to add the flowers and leaves to your paper. Build your composition from the bottom to the top layer, gluing one petal, leaf, or flower at a time.
 Be sure to handle the pressed flowers carefully in this step. In fact, you may find it easier to dab the glue stick directly onto the paper and then press the petals or leaves into those spots. That will reduce the risk of tearing in this process.
Step 4. Seal and enjoy
When you finish adding the pressed flowers to the paper, gently add a generous layer of Mod Podge to seal your work. You can do this with your fingers or a paint brush.
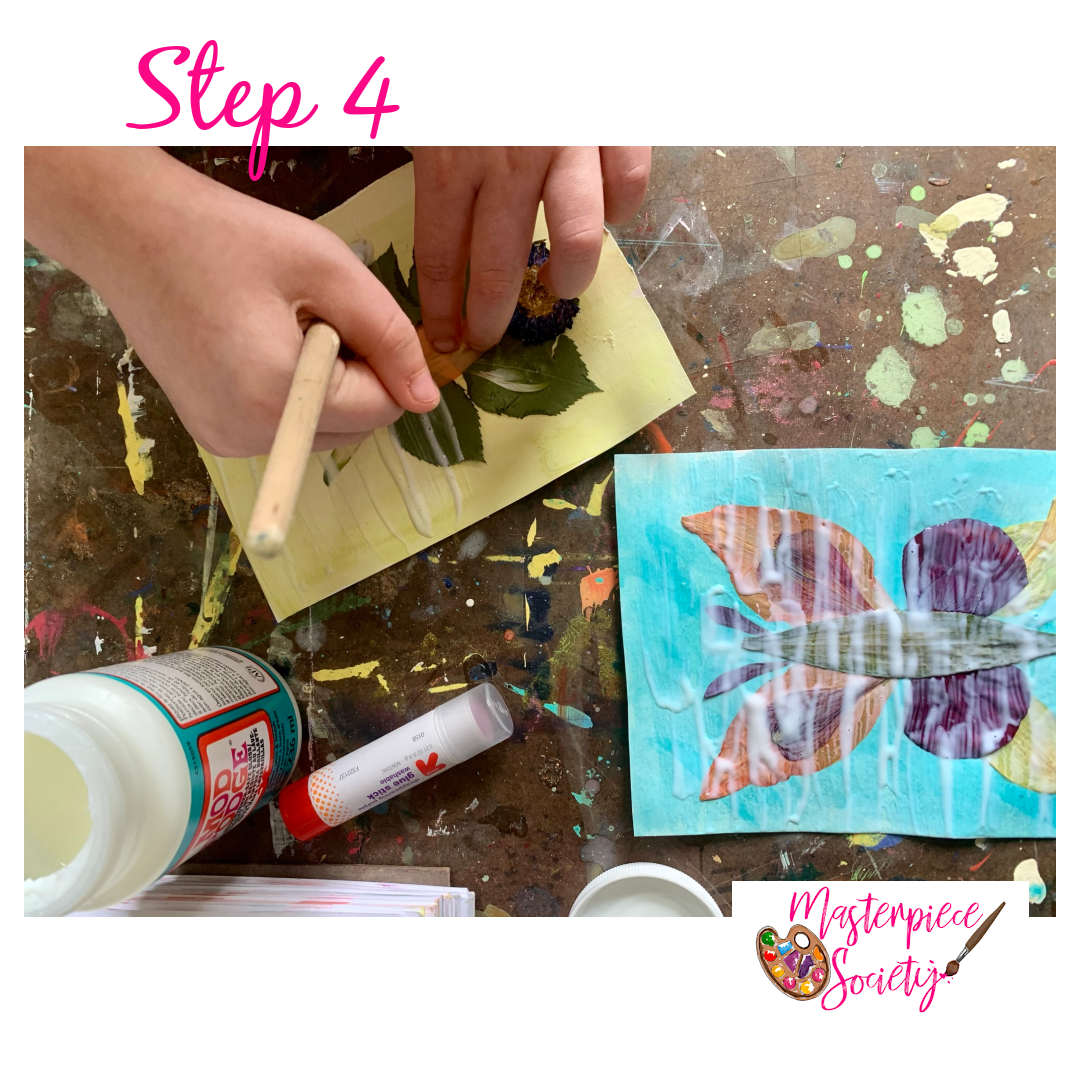 Once that Mod Podge layer dries completely, frame your pressed flower art and enjoy!
 Don’t forget to share your pressed flower art with us. Be sure to use #masterpiecesociety and tag us on social media so we can see your work and celebrate this fun project with you!

Looking for more fun ideas for bringing art and nature together? Check out our Watercolor Whimsies course and our Celebrate Summer Mixed Media Workshop. Both of these have lots of nature-inspired art ideas to keep your artist busy!
