Are you studying the life and art of modernist Paul Klee with your kids? We’ve got a fun and easy ink bleed art project to enjoy while you learn!

*This post contains referral links for recommended items; this means I could receive compensation if you take action through one of these links.*
My kids became familiar with the work of Paul Klee through our time studying The Blue Rider art movement, but he recently showed up on our radar again when we read The Cat and the Bird during our read aloud time.
This fun picture book is inspired by Klee’s art and uses Klee’s Cat and Bird as inspiration for the story. We enjoyed this story and its muse so much that we thought it would be fun to recreate it. And that’s how today’s ink bleed art came to be.
Ink Bleed Art for Kids Inspired by Paul Klee
Want to get started with this Paul Klee-inspired ink bleed art? Here are the supplies you’ll need:
Ink Bleed Art: Supplies Needed
- Canvas panel or watercolor paper
- White basket-style coffee filters
- Assorted markers
- Water
- Paint brush
- Scissors
- Pencil (optional)
- Permanent marker
Heads up: there’s potential for marker-stained hands and lots of water dripping off the canvas during the process. Because of that, you’ll want to protect surfaces and forgo any special clothing while working. 😉
 Also worth noting, you may want to read MoMA’s overview of Cat and Bird and discuss this point with your artists before starting the project:
“Believing that children were close to the sources of creativity, Klee was fascinated by their art, and evokes it here through simple lines and shapes: ovals for the cat’s eyes and pupils (and, more loosely, for the bird’s body), triangles for its ears and nose.”
Step 1 – Prepare the filters.
To start your ink bleed art project, color several flattened coffee filters with markers.
Don’t be afraid to use bold colors on this step; the end result will be lighter than the colored filters, especially if you use canvas instead of watercolor paper. Also, a mix of solid-colored and patterned filters will be helpful for this project, but there’s plenty of room for creativity when it comes to the colors and patterns you create.
 When the colored filters are dry, cut them into smaller pieces and set them aside.
Step 2 – Prepare the canvas.
Next, lightly sketch the outlines of the cat and bird from Paul Klee’s Cat and Bird using a pencil. When you’re happy with the pencil outline, go over it with a permanent marker.
 (Worth noting, we used a canvas from a previous project for our ink bleed art. Those blue markings were visible when my daughter sketched, but they faded away in Step 3.)
Step 3 – Add the filter pieces.
When the outline is finished, place the coffee filter pieces on the canvas a few at a time. Then, lightly brush water over them or drip it over them with your paint brush. Continue this process working from left to right or top to bottom.
 Since this step involves lots of water and marker ink, you may want to have paper towels on hand to control any water and ink runoff that happens while you work.

Step 4 – Dry and remove filter pieces.
After you “paint” the surface with the colored filters and water, check for empty spots and repeat Step 3 as needed. Then allow the canvas and filter pieces to dry completely. This could take a couple of hours, so feel free to tackle some math or go for a walk while you wait.

Once the canvas and filter pieces are dry, gently brush them off and dispose of the filter scraps. Then, display your ink bleed art and enjoy!
![]()
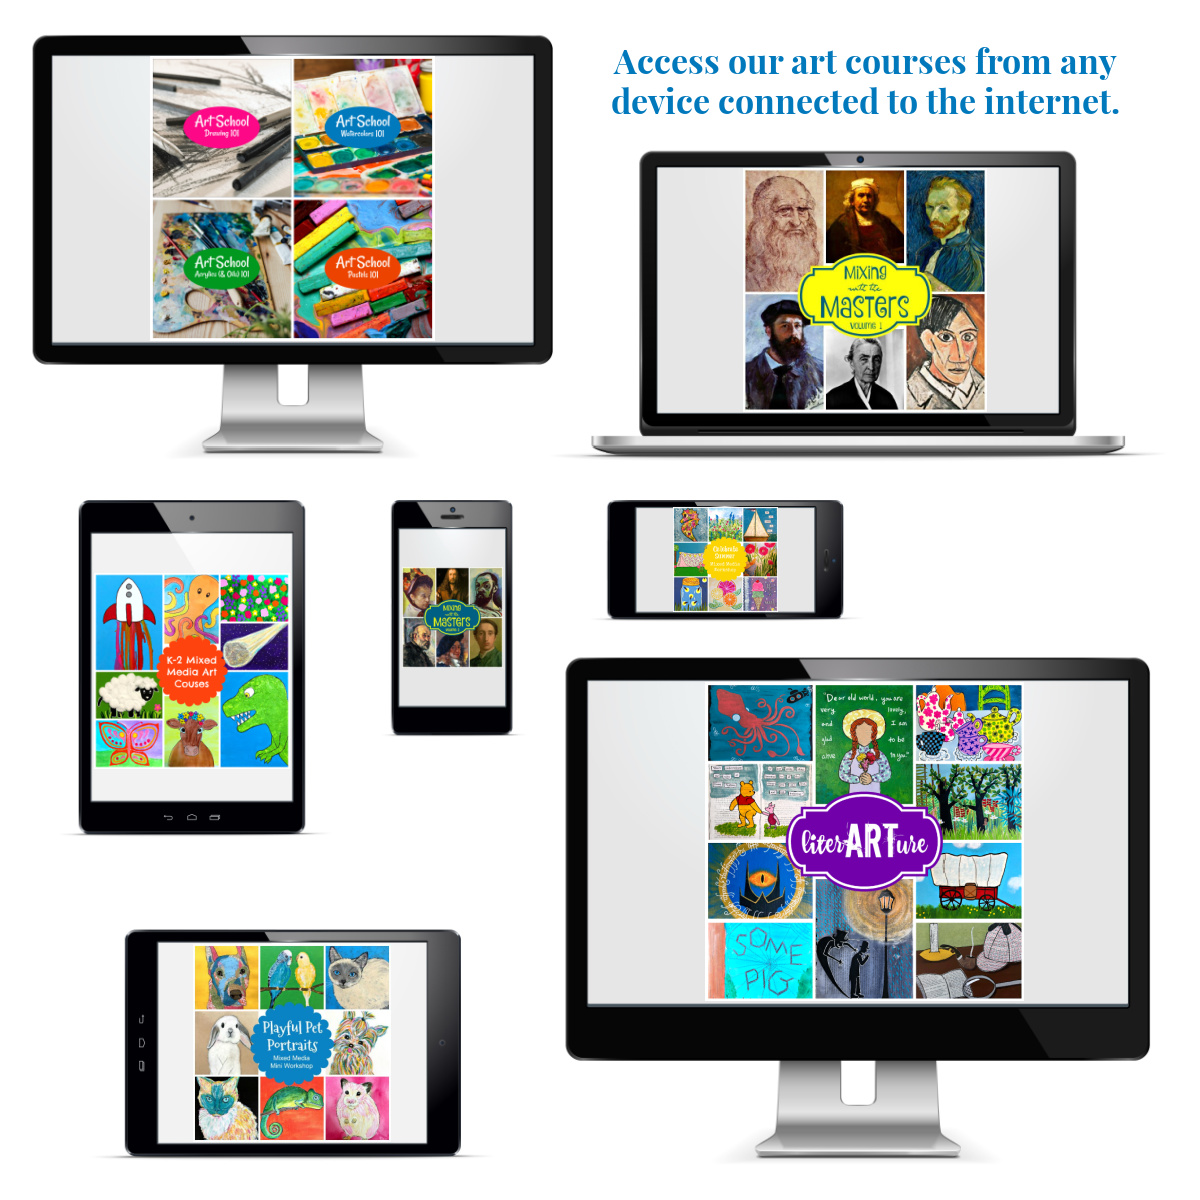
For more hands-on art ideas inspired by the great artists, check out our Mixing with the Masters course. These lessons are a fun and creative way to add art appreciation to your learning plans! 🙂